
Getting started
This guide takes you from zero to a live widget on a page. It should take about five minutes.
Before you start
- An account on the platform with access to a sub-account (location) you can edit.
- A funnel or website page to put the widget on (or create a new one).
1. Install the app
- Install Conversion Toolkit from the App Marketplace.
- Choose the sub-account to install it into.
Once installed, Conversion Toolkit appears in that sub-account’s left sidebar.
2. Create your first widget
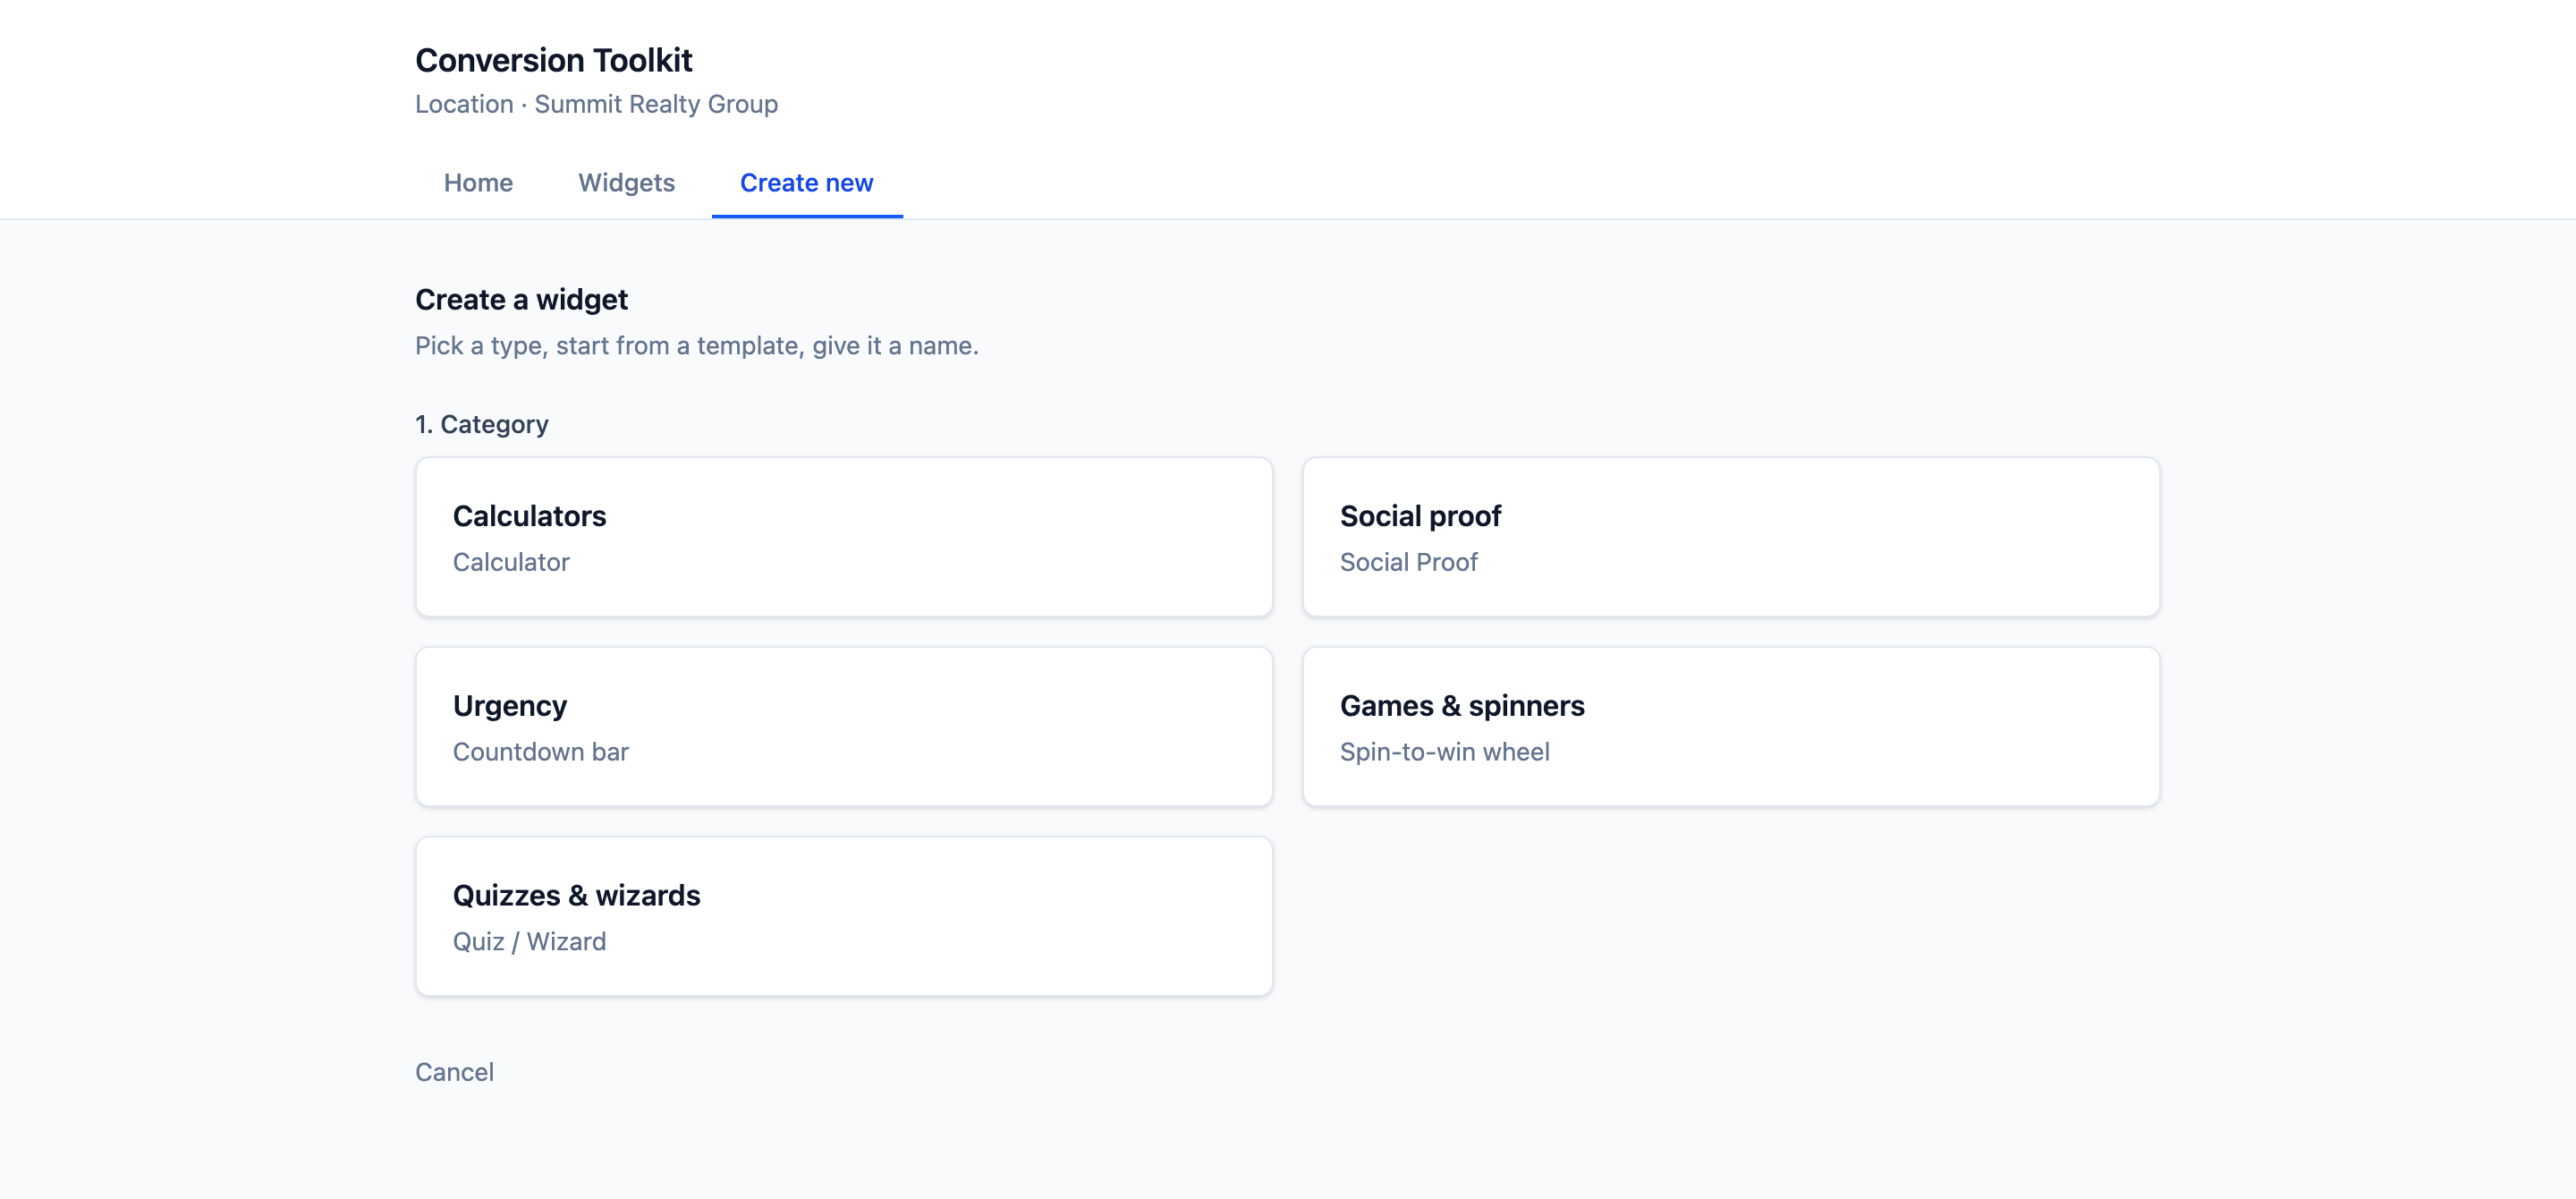
Open Conversion Toolkit from the sidebar and go to Create new:
- Pick a category — calculator, social proof, urgency (countdown bar), games & spinners (spin-to-win wheel), or quiz / wizard.
- Start from a template, then give your widget a name.
- Adjust the settings (inputs, theme, content) and Save.
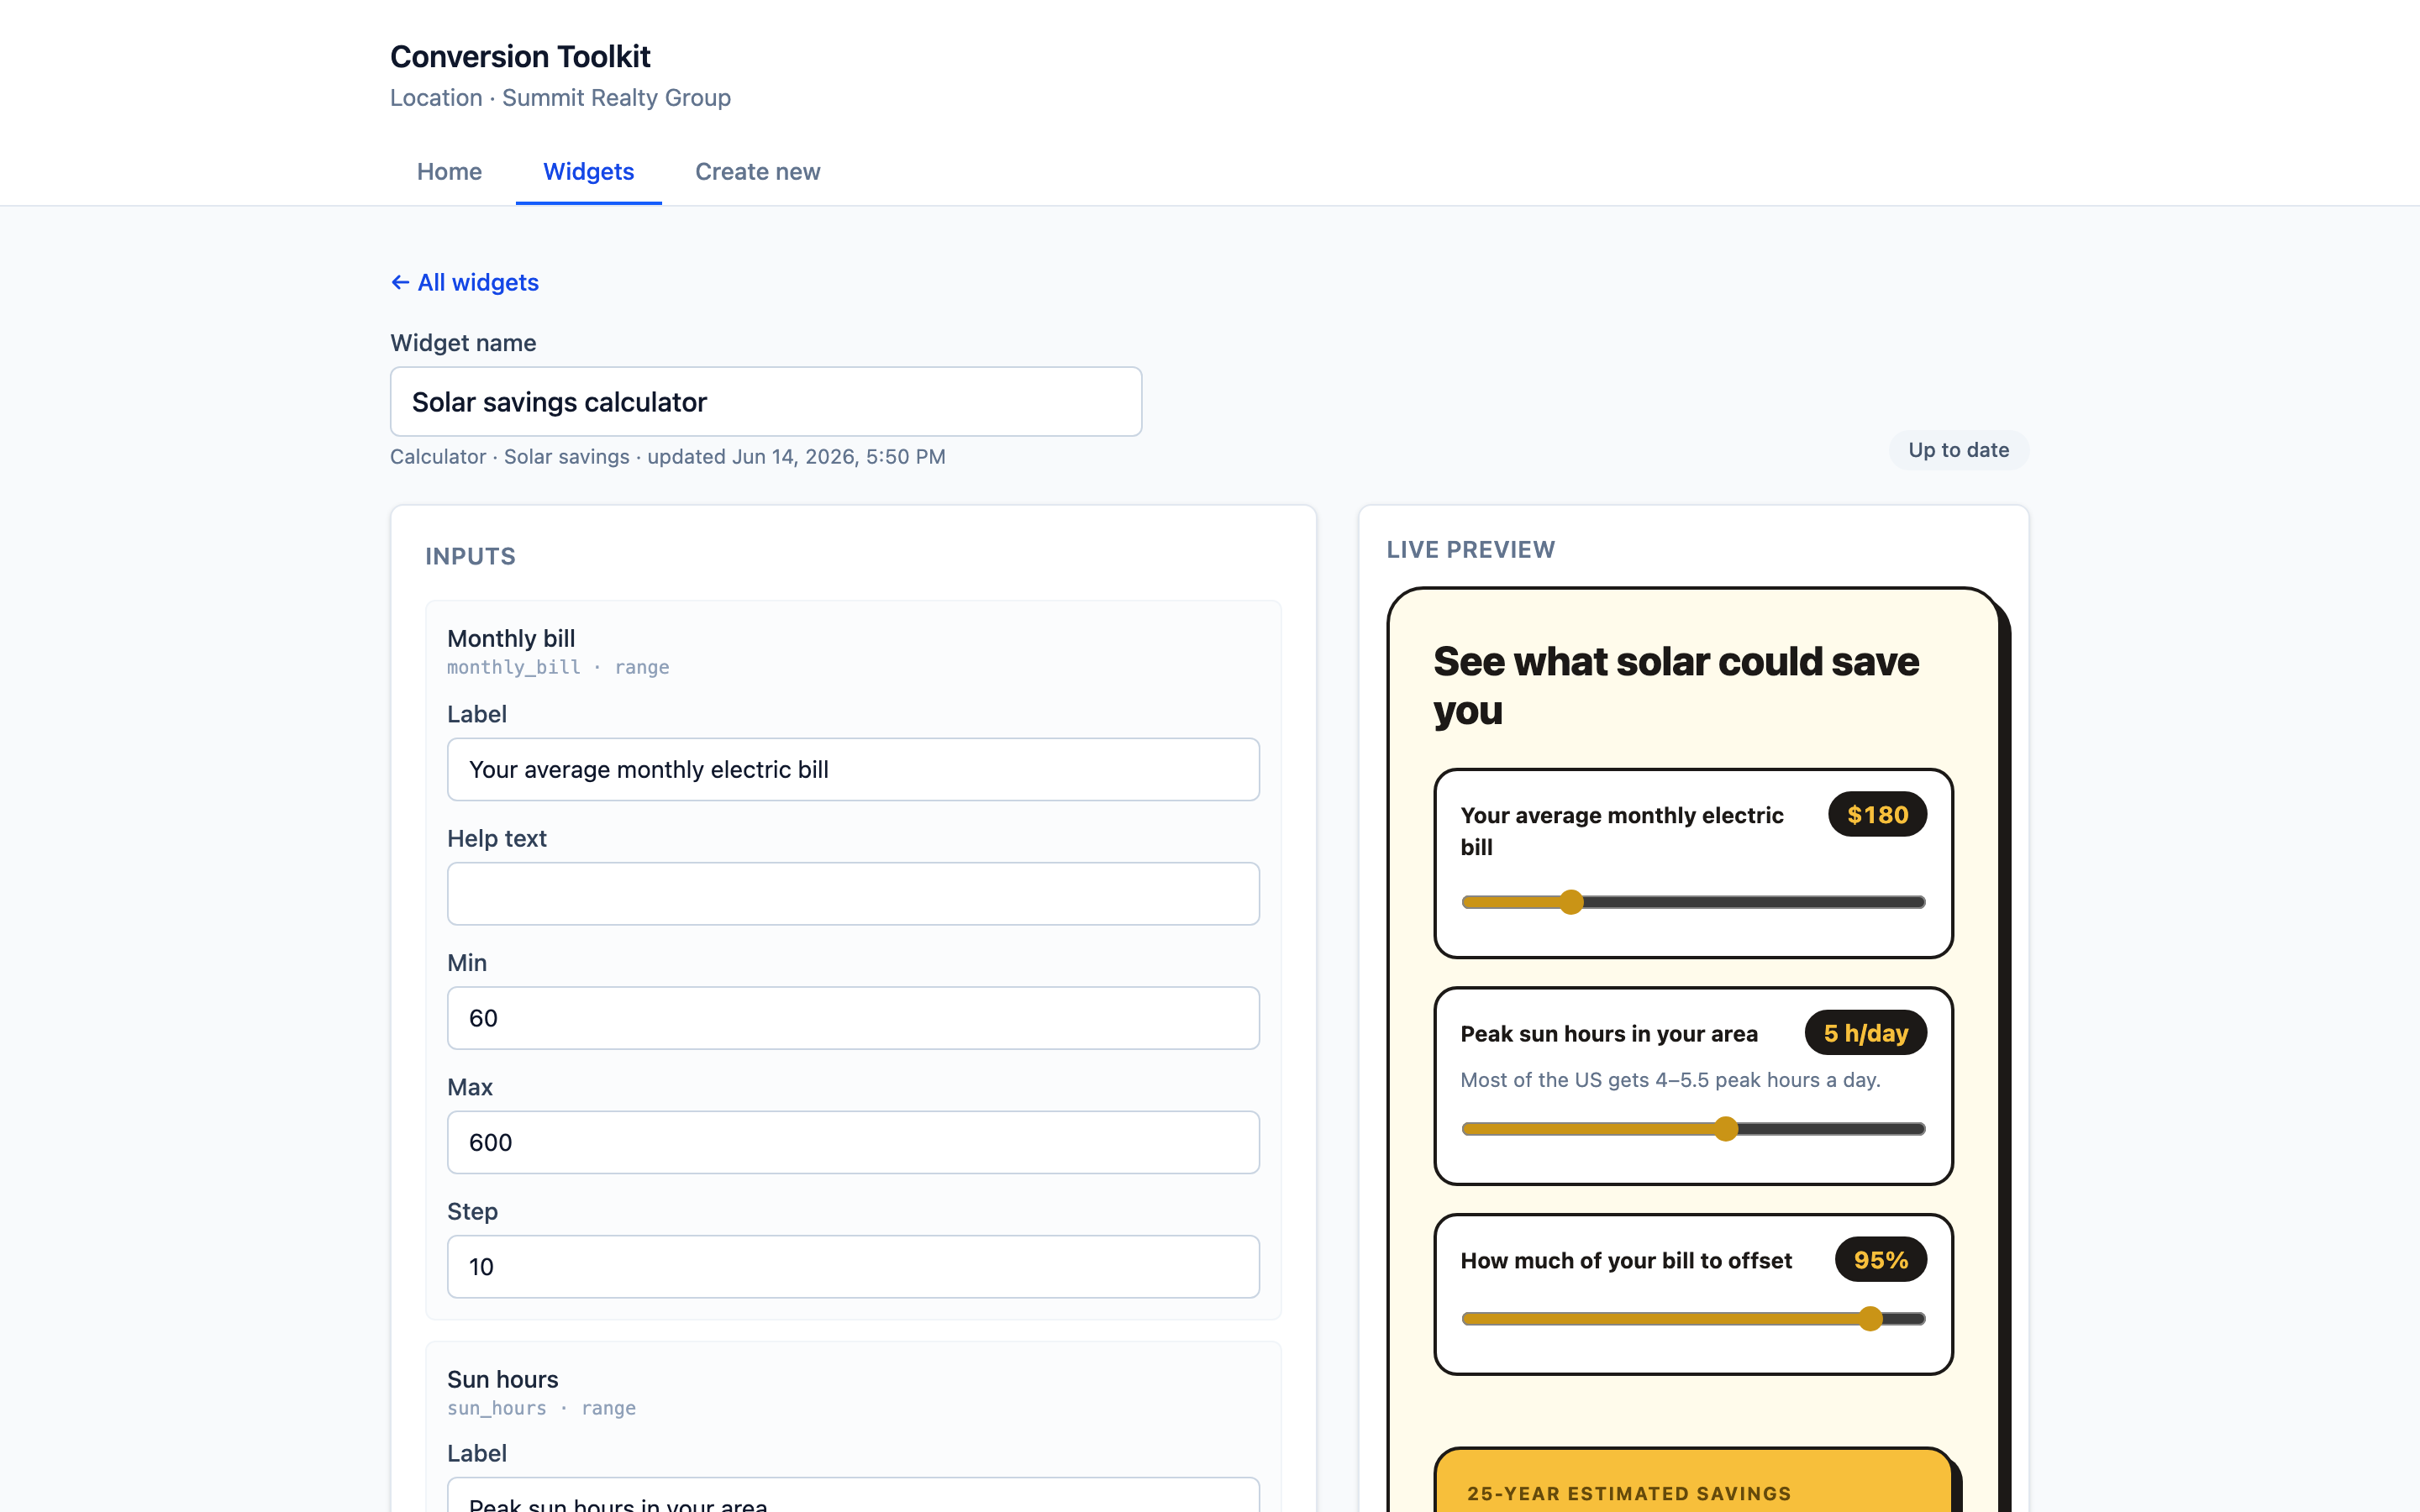
The live preview shows exactly what visitors will see, using the same rendering as your published page — so what you preview is what you ship.
3. Add the widget to a page
- Open the funnel or website page in the platform’s page builder.
- Drag in the Conversion Toolkit element.
- In the element settings, select the widget you just saved.
- Save and publish the page.
That’s it — your widget is live.
4. Edit any time
Because the page only references which widget to show, you can keep editing the widget inside the app and your changes appear on every page it’s on — no need to touch or re-publish the page.
Next steps
- Turn on lead capture to collect emails and save results to your contacts.
- Browse the widget types to see what else you can build.